Saturday, July 30, 2011

Bam's Breakfast Frittata

When you are in need of a make ahead easy and yummy breakfast dish, a breakfast frittata is the perfect solution. A breakfast frittata is a delicious substantial breakfast that will keep your teenagers and the rest of the family full and happy until the next meal.
A breakfast frittata is a dynamic dish that you can put anything in it that you like. Most generally the main ingredients of a breakfast frittata are eggs, milk, cheese, and you may add any vegetables, herbs, breads, potatoes, left over pastas, breakfast meats or anything you desire. You can even make 1/2 dish one way with some ingredients and the other 1/2 dish with other ingredients, so you are sure to make everyone in the family is happy- even those picky eaters. However as a mom, my most favorite reason to choose a breakfast frittata is that you can make the preparations in advance and just cook the day of, so you can enjoy your morning out of the kitchen.
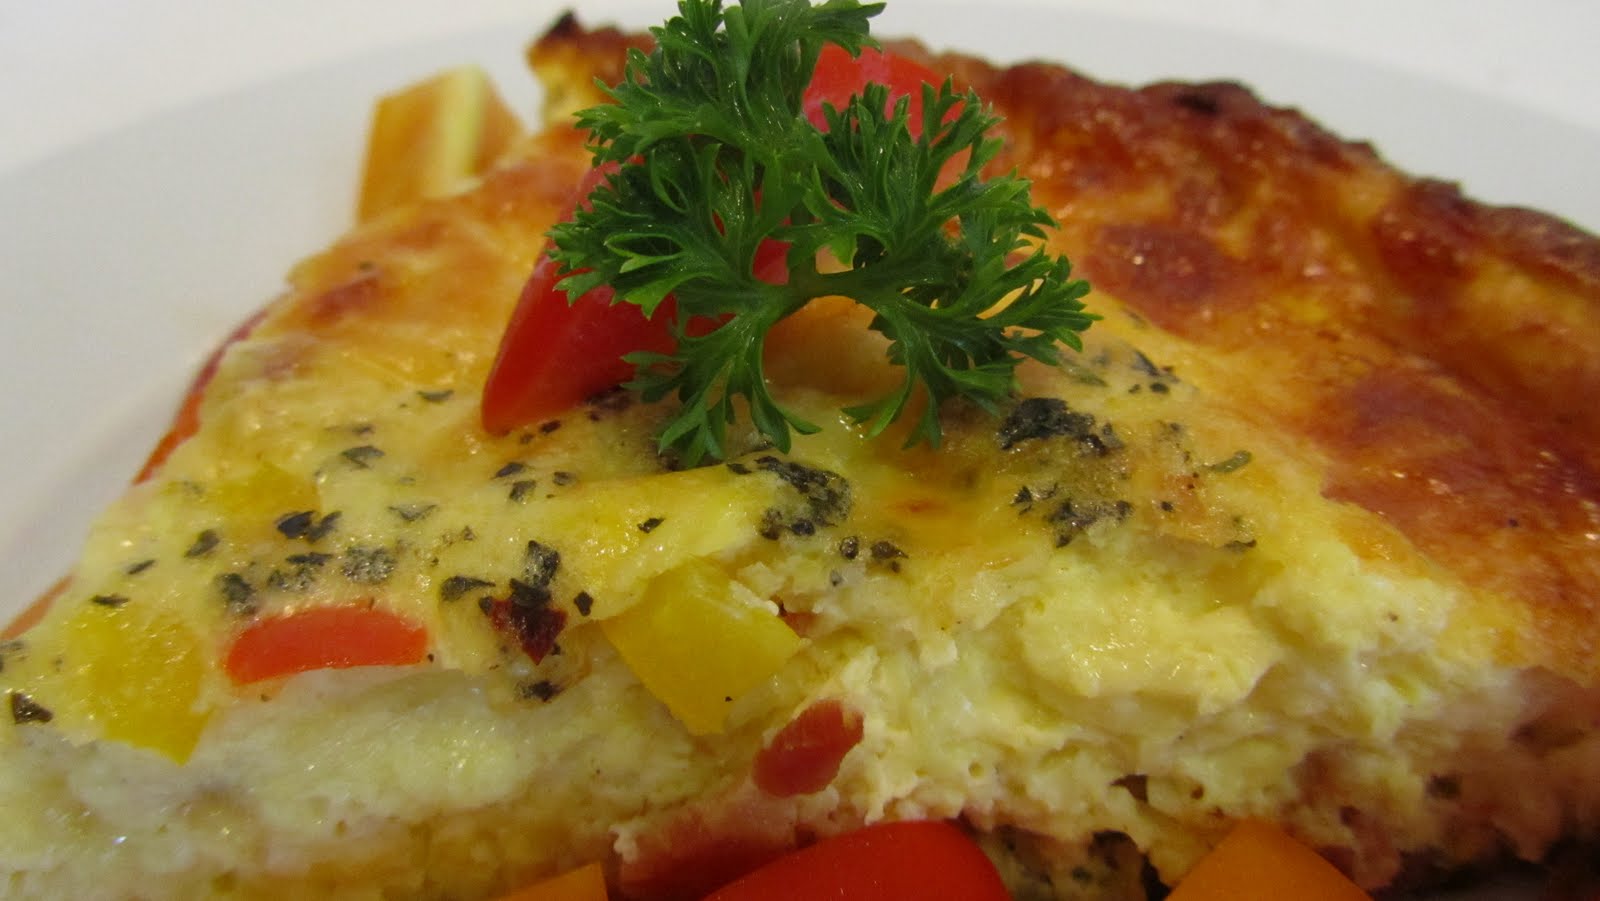
The word “frittata,” which derives from the Italian verb “friggere,” which means to fry. A frittata is like an open faced omelette. Traditionally in Italy a frittata was a way to use up those left overs in the fridge and use the base of the egg to hold it all together.  Frittatas are usually eaten for breakfast but can also be eaten for brunches and lunches and even at room temperature with a nice salad on the side. A breakfast frittatas is a delicious comfort food that our family enjoys over lazy weekend mornings.  Delizioso!!
Bam's Breakfast Frittata: (serves 2 hungry teenager boys or 4 adults)

  • 8 eggs beaten (or egg beaters)
  • 1 cup milk (can use skim, whole, soy, cream or whatever you have)
  • 1 cup cheese (mozzarella, cheddar, goat, feta, ricotta, cream cheese- or whatever your family likes)
  • 1 cup cooked breakfast meats- optional (bacon, sausage, ham, etc)
  • 1 cup assorted vegetables-optional (if you can get your kids to eat vegetables)- peppers, onions, spinach, mushrooms, grated potatoes
  • salt and pepper to taste
  • 1/2 teaspoon dried mustard
  • 1/4 teaspoon dried hot pepper flakes- optional
  • 1 teaspoon chopped fresh basil- optional
  • 2 teaspoons chopped chives- optional
  • 1 teaspoon olive oil 
There are many flavor combinations for frittatas. If you have a large pan, you can make one side of dish a kid friendly combination and one side of the dish for the adults. Here are some of our families favorites. 
1) Cheddar cheese and spicy sausage
2) Feta and spinach 
3) Ham, mozzarella cheese, chives and peppers
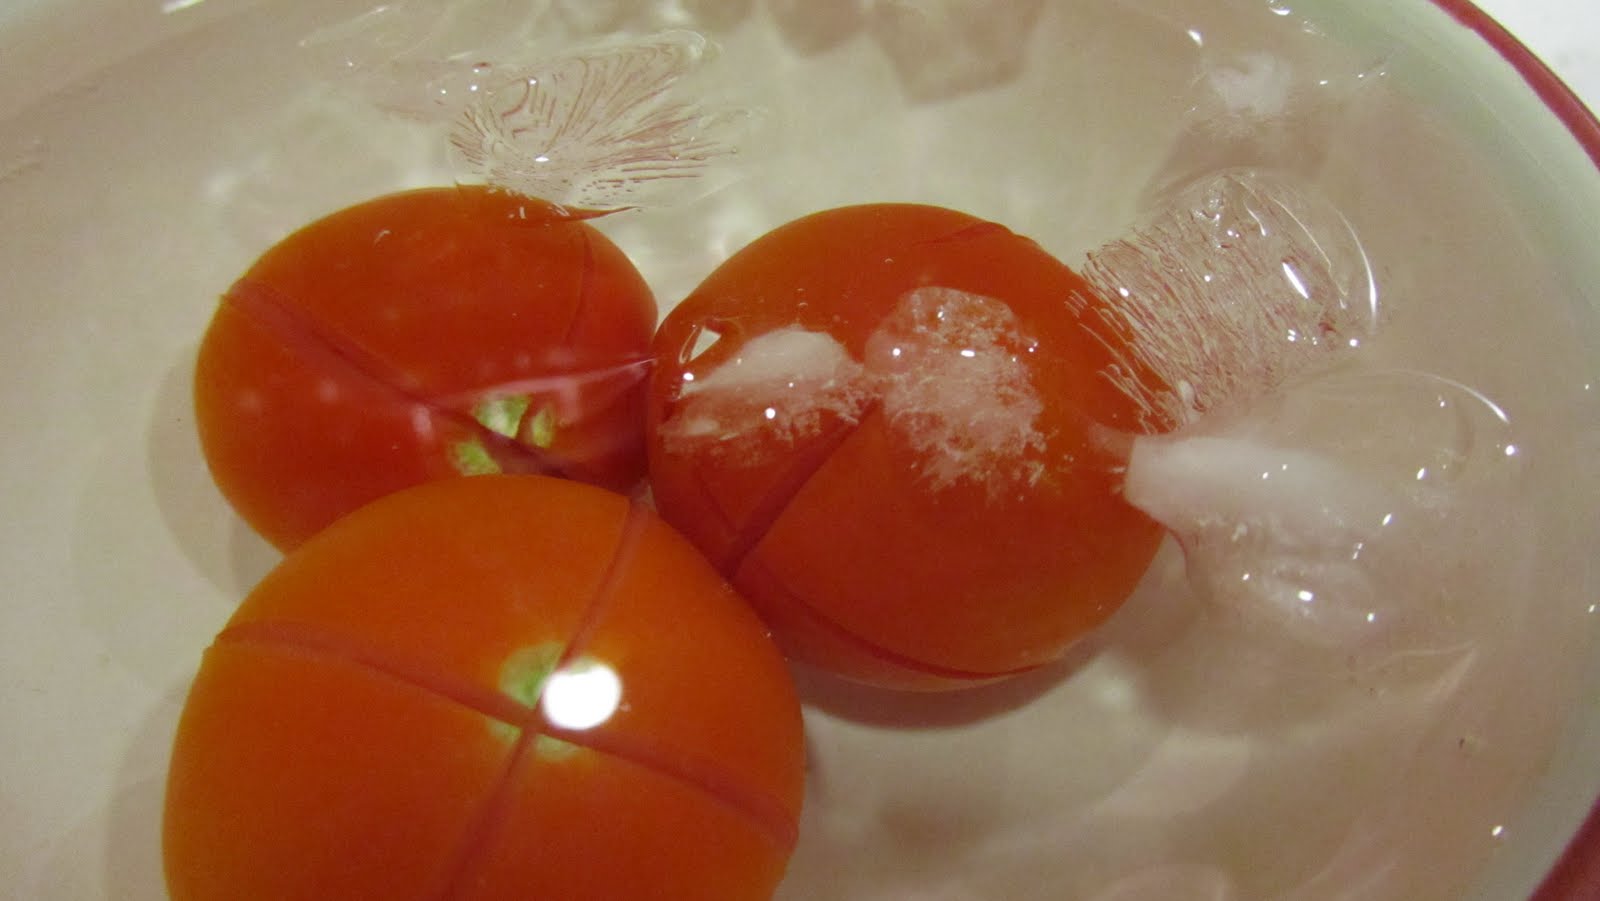
4) Tomato, basil, cream cheese
5) Bacon and potato- (for this one you cook bacon first and remove from pan and add shredded potatoes and pan fry until a nice golden crust on potatoes then add egg ingredients and bacon bacon into the pan and finish in oven)

There are 2 ways to make a breakfast frittata.
Prep in advance: One way is to make and prep all the ingredients the night before and then place into a greased oven proof dish and put in fridge overnight, covered in saran wrap. In morning, take out dish from refrigerator about 45 minutes in advance to allow to come to room temperature while preheating oven to and bake at 350 degrees F ( 176 C) for about 45-1 hour until knife comes out clean. (Allowing the dish to come to room temperature prevents the dish from breaking due to the temperature difference between cold dish and hot oven)
Prep and cook the day of: Prep all of your items and put in an iron skillet and cook on top of stove until just starts to set then transfer to 350 degrees F ( 176 C) over for about 45- 50 minutes or until knife comes out clean.
I will demonstrating the prep and cook the day of option as the iron skillet has a nice rustic presentation and makes a nice crispy crust and soft and fluffy egg inside.

Step 1: If you wish to use any breakfast meets such as bacon, sausage, ham etc,- chop up and add to skillet and cook on medium heat until golden brown. Then remove breakfast meats and place on plate lines with paper towels and set aside. Drain pan of excess fat/oil, but leave one teaspoon oil in pan to cook the frittata.
Step 2: Preheat oven to 350 degrees F (176 C)
Step 3: Beat eggs and add salt and pepper, milk, dry mustard, dried pepper flakes and any fresh spices or herbs you wish.
Step 4: Chop vegetables and prepare them to add to the frittata

Step 5: If you choose not to use breakfast meats, then now add 1 teaspoon of olive to coat pan to prevent the frittata from sticking to pan. Place skillet on medium heat on top of stove.
Step 6: Add egg mixture to pan- Do Not Stir- leave set.
Step 7: Add cheese, vegetables, breakfast meats and other items as you wish and let cook undisturbed on top of stove for about 2-3 minutes so that a nice crust forms on the bottom of pan.
Step 8: Transfer breakfast frittata to oven and cook for about 45-50 minutes until the knife comes out clean and the frittata is lightly browned and puffed. 
Step 9: Take a sharp knife and run it around the edges of the pan. Cut into pie wedges and enjoy with fruit and toast for breakfast or a nice salad if serving for brunch or lunch. Enjoy!


Thursday, July 28, 2011

Cool and Crisp Gazpacho Soup

Just returned from the wet market (farmer's market) in Aberdeen, Hong Kong and todays choices for fresh vegetables were overwhelming.  Beautiful ripe sweet tomatoes, colorful crisp peppers (capsicum), firm cucumbers, and many fresh green herbs for the summer selection.  Cool and Crisp Gazpacho soup is a great way to cool down on these hot summer days and lovely way to use these fresh and bright ingredients.  


Gazpacho soup is a cold tomato based Spanish soup originally made with raw vegetables, fresh herbs, garlic, day old bread, vinegar and olive olive oil.  It originated in the Spanish region of Andalusia.  In order for my teenage sons to like this dish, I made some alterations to tradition. I removed the bread from the soup and instead put in fresh lemon juice and finely minced red hot peppers to keep the flavors dancing on your tongue. The cool refreshing vegetables of the soup combined with heat of the pepper and tang from the vinegar and lemon is a delightful way to the edge off the heat of the summer. 


Gazpacho Soup
  • 4 plum tomatoes or any sweet vine ripe tomatoes
  • 3 cups V8 juice or tomato juice
  • 1 1/2 cups chopped cucumbers (un-peeled and seeds removed)
  • 1/2 chopped yellow pepper
  • 1/2 chopped green or red pepper
  • 1/2 cup chopped onion 
  • 2 chopped garlic cloves
  • 2 tablespoon chopped fresh parsley
  • 1 chopped red hot chili pepper (optional) or dashes of hot sauce
  • 1/4 cup olive oil
  • 1/4 cup red wine vinegar
  • Juice of one fresh lemon
  • salt and pepper to taste
  • 1 tsp sugar
  • 1 tsp worchester sauce
Step 2: Cut tomatoes in a cross cut on both top and bottom (This will make it easier to peel)
Step 2: Boil water in pan and add tomatoes for about 10-15 seconds to blanch
Step 3: Remove tomatoes and place in a water bath to cool down
Step 4: Remove tomatoes from water bath and peel and seed. 
Step 5: Chop half of the cucumbers and tomatoes finely. Place other have of cucumbers, tomatoes and onion and coarsely chop in food processor.
Step 6: Chop up finely the remaining items (garlic, peppers, hot peppers, other half of cucumbers and other half of tomatoes)
Step 7: In a large bowl combine the chopped items in the food processor, hand chopped vegetables (1/2 cucumbers, garlic, 1/2 tomatoes, peppers, hot peppers) also add in V-8 juice, olive oil, wine vinegar, lemon juice, salt and pepper, sugar, worchester sauce, parsley and stir.

Step 8: Store in a sealed container in fridge for at least 2-4 hours and best overnight for flavors to mingle. 
Step 9: Serve Gazpacho soup cold with parsley garnish and crusty bread on the side.


Wednesday, July 27, 2011

Bacon Wrapped Stuffed Chicken Tenderloins with Rosemary Potatoes

Crispy Bacon, Melted Creamy Cheese and Roasted Crispy Potatoes! What teenager does not like this? 


This is maybe not the weight watchers item on the menu tonight but I sure do have my teenagers full and complete attention. 
As a tribute to my teenagers and a little bit lower calorie version, I bring to you, Bam's Bacon Wrapped stuffed chicken breasts and rosemary potatoes.

Bacon Wrapped Stuffed Chicken Tenderloins (serves 2 hungry teenagers or 4 adults)

  • 8 chicken tenderloins
  • 6 oz of crumbled feta, or grated mozzarella or any cheese you like
  • 4 slices of bacon cut in half
  • 1 tablespoon olive oil
  • salt and pepper to taste
  • 1 chopped shallot
  • 1 clove garlic
Step 1: Pound the chicken flat
Step 2: Place slice of chicken down on plate
Step 3: Place chicken breast on top and add cheese and salt and pepper
Step 4: Roll up chicken breast tightly with the bacon strip securing it together
 Step 5: place oil in pan and bring pan to temperature and add onion, garlic and stuffed chicken breasts.
Step 6: Cook for 2-3 minutes on each side until golden brown then transfer to 325 degree F oven for about 25 minutes until the internal temperature is 170 degrees F
Step 7: Remove from oven and serve with rosemary potatoes. (Recipe for rosemary Potatoes follows below)

Rosemary Potatoes: 
  • 10 medium sized red potatoes
  • few sprigs of fresh rosemary (or 1 tsp of dried rosemary)
  • 2 tsp of oil olive
  • salt and pepper to taste
  • 1 clove garlic chopped

Step 1: Preheat oven to 190 degree celsius
Step 2: Chop up potatoes into bite size pieces
Step 3: Chop up rosemary and garlic
Step 4: Add potatoes, rosemary, garlic, oil olive and salt and pepper to an oven safe dish and stir
Step 5: Put in oven and bake for about 35-40 minutes until golden brown.  Stir every 10- 15 minutes so browns evenly.
Step 6: Take out of oven and enjoy with Bacon Stuffed Chicken Tenderloins.


Tuesday, July 26, 2011

Sushi in Bam's Kitchen

ようこそ (Yōkoso) - Welcome!
The summer is here in full blast and so is the heat and humidity. Today, I cannot even bear the thought of getting near the stove, oven, or anything that produces heat as I may melt.  However, the family is hungry and is wondering what is cooking in Bam's Kitchen tonight- well actually nothing. I am not going to "cook" a thing.  I am going to "prepare and facilitate" some delicious simple sushi dishes without even breaking a sweat. 
Sushi 寿司 is a Japanese dish that uses rice seasoned with sweet-rice vinegar.  Raw fish can be used in sushi but the main element is rice. Japan is an island surrounded by abundant fish in the seas and the most plentiful crop is rice and therefore it is easy to see why these dishes are so popular. The first types of sushi called Nare-zushi (馴れ寿司, 熟寿司), was first developed in Southeast Asia. Fish was salted and wrapped in fermented rice and was stored for  months at a time for preservation. The fermented rice was discarded and fish was the only part consumed. Then during the Edo period, rice was mixed with vinegar, fish, vegetables and dried nori (seaweed). This type of sushi is still very popular today and the type we are going to be making in Bam's Kitchen.  One of my teenagers like spicy tuna rolls and my other teenager likes sushi with vegetables only. Sushi is great way to get the family involved in making the rolls and having fun inventing their own combinations. 


When we lived in Japan, my favorite sushi restaurants were Kaiten-zushi. Kaiten-zushi is a sushi restaurant where the plates with the sushi are placed on a rotating conveyor belt that winds through the restaurant and moves past every table and counter seat. Customers may place special orders, but most simply pick their selections from a steady stream of fresh sushi moving along the conveyor belt. The final bill is based on the number and type of plates of the consumed sushi. This is a fun and inexpensive way to enjoy sushi. 
This is a special tribute to all the dear Japanese people who were affected by the Tsunami and the devastation. May you keep your strength to rebuild and renew. 

Sushi Recipe

  • 2 1/4 cups short grain sushi rice
  • 3 cups water 
  • 1 package of dried nori leaves for sushi 
  • 1 package of dry powdered sushi seasoning or (1/4 cup rice vinegar, 1/4 cup sugar, 1 1/4 tsp salt) 
  • thinly sliced assorted vegetables such as cucumbers, carrots, daikon, advocado 
  • thinly sliced sushi grade fish such as maguro (tuna), salmon, ebi (shrimp), imitation crab, or whatever you like. 
  • rice vinegar (little bowl for dipping your hands and knife to keep it clean) 
  • sushi bamboo mat
  • pickled ginger (optional) 
  • wasabi (optional 
  • soy sauce for dipping (optional) 
  • japanese pickles 
Step 1: Wash the rice until water runs clear

Step 2: cook rice in steamer or rice cooker per protocol (if you do not have these items, you can add the 2 1/4 rice and 3 cups water to medium size pot and cook on high heat until boiling then reduce heat and simmer for  about 12 minutes with lid on or until water is absorbed)
Step 3: Scrape rice into a bowl and one sushi dry packet seaoning mix and mix well or the (1/4 cup rice vinegar, 1/4 cup sugar, 1 1/4 tsp salt) - the mixture should start to look shiny
Step 4: Allow the rice mixture to cool
Step 5: Slice to vegetables into thin long slices about 2 inches long or use a mandolin to make long thin uniform slices
Step 6: Prepare sushi grade fish in thin long slices
Step 7: If you like spicy tuna rolls then chop up tuna (meguro finely and add wasabi sauce to taste)
Step 8: Place the sushi bamboo mat on the counter and place one dried nori leaf on mat
Step 9: Dip your fingers/hands into the rice vinegar to prevent the rice from sticking to your hands
Step 10: Place a thin layer of rice on the nori leaf
Step 11: Place thinly sliced vegetables and or raw fish or whatever your little heart desires on 1st portion of rice covered nori leaf. 
Step 12: Use the bamboo mat to tightly hold the sushi and roll up
Step 13: Cut sushi roll in half
Step 14: Cut each half into 3 pieces for a total of 6 pieces for each roll for skinny rolls and for larger rolls cut into 8 pieces. (make sure to rinse knife in rice vinegar to prevent sticking and use a very sharp knife)
Step 15: Serve up sushi rolls with soy sauce, wasabi, and Japanese pickles- 

Itadakimasu!